This is part 3 of a series. You can find part 1 here, and part 2 here.
EDIT 4-10-16: The instructables is out now, check it out here!
I’ve gotten a lot of emails about the BoosterPack project over the last few months, and I’m glad that there are so many interested people!
To those of you eagerly awaiting an instructable or EBay listing, I thank you for your patience and have to ask for a little more.
This process has been delayed by significant changes in my life, namely my relocation 2,400 miles west to Portland, Oregon to pursue bigger and better opportunities.
To a lifelong Midwesterner this land of abundant bicycles, dogs, food/beer/wine options, creative/ interesting/outright-weird people, high-tech industry, public transportation, mild weather, and natural beauty is a welcome change!*

A scene from my new daily commute on I-205.
The move itself was stressful and expensive, as expected, but the toll it took on my 3D printer was not. I’ve spent quite a bit of time tuning it to making good prints again. In any case, I’ve decided not to attempt selling printed parts.
What I will do is make the entire set of printable BoosterPack files available on Pinshape for $10**, and the set of non-printed non-electronic hardware available on EBay for $82 shipped. (This includes all the springs, screws, Velcro, frame tube, etc which would suck for an individual to buy piecemeal.)
Those files, and the schematics, settings, & BOM with links to the electronics from 3rd parties will have to wait until I release the instructable on April 5th, in time for two highly relevant contests. This will also give me time to finish the kits and record the details of working with the popular outrunner motor technology in instructable form.
What I have for you right now are updates on recent experiments and these printable documents to check if the BoosterPack will fit your bike: (Seat Mount Config HERE, MidDrive Config HERE.)
.
EXPERIMENTS:
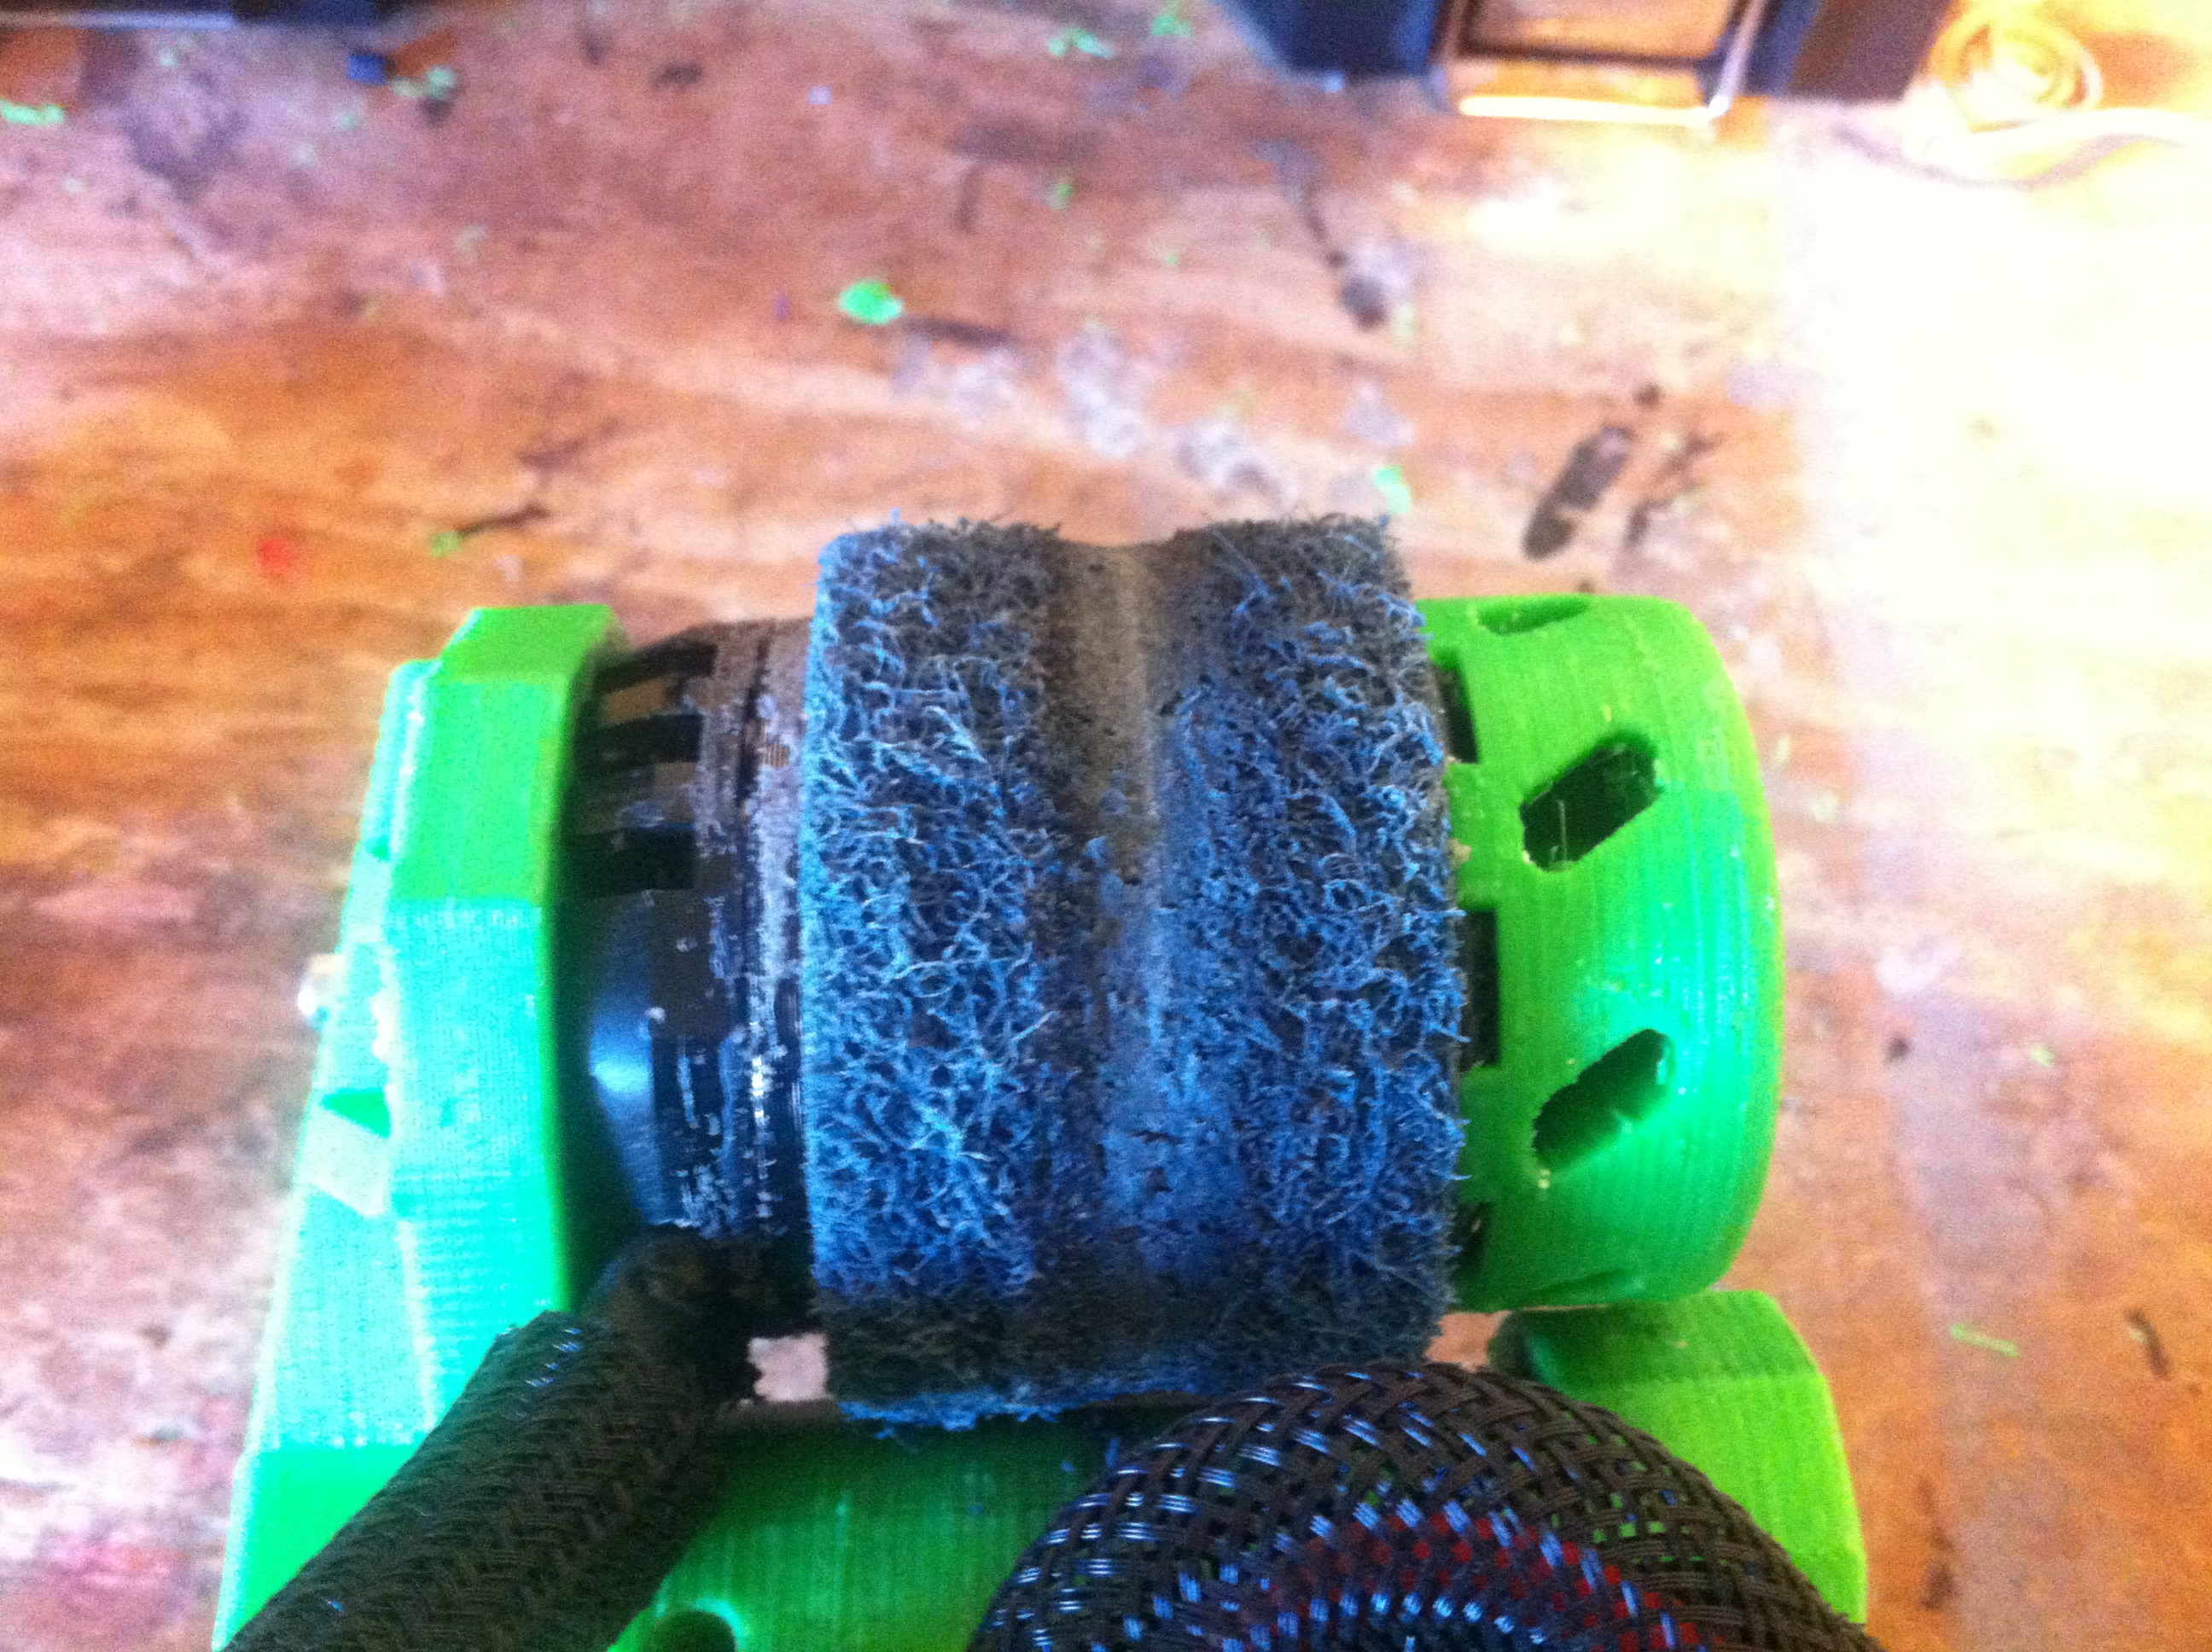
- Improving Wet Traction: Oh the terrible irony, I’ve got this great toy and have moved to one of the most bikeable cities in the United States, but the PNW is a very wet place to live! The BoosterPack design relies on friction and is unable to function on a wet bike tire.
So I tested various grits of sandpaper, coatings, meshes, and rubberized heatshrink but my conclusion is a negative one: Any material able to grip a wet tire will quickly wear the tire (or be quickly worn) when the tire is dry.


 The little black flecks on the bike frame was my tire!
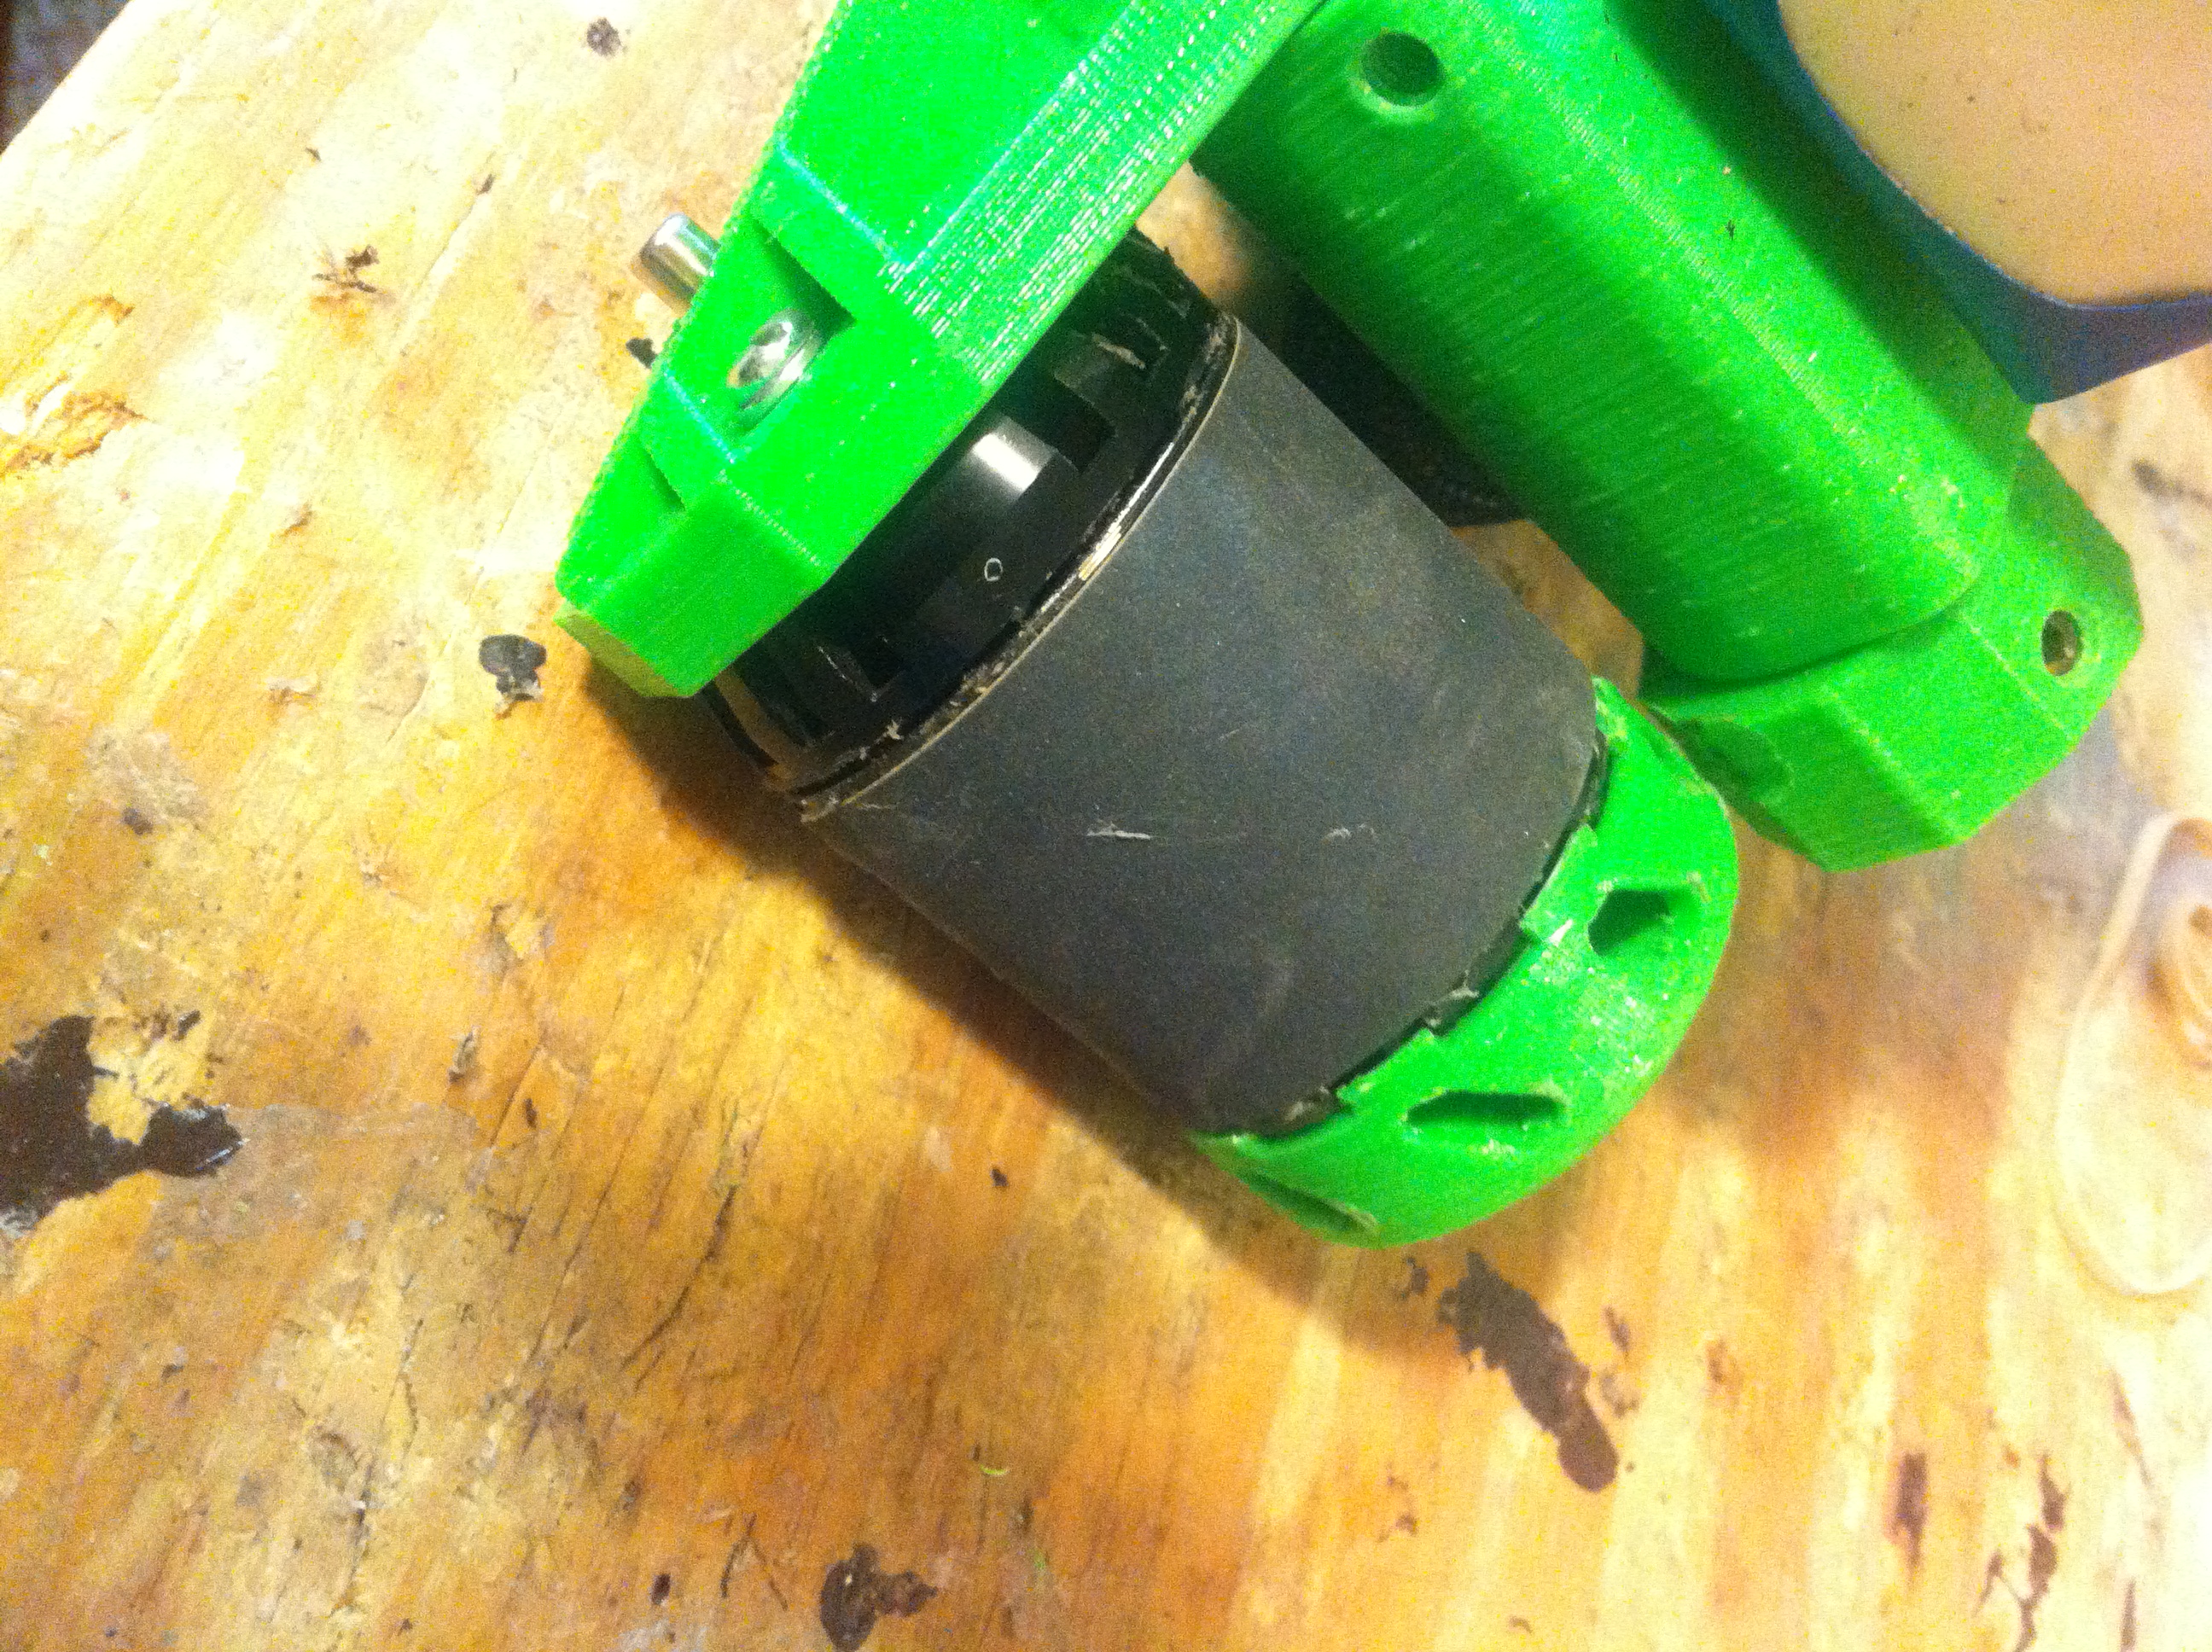
But there is a good side to this too. The inherent slipping that occurs between the smooth metal motor exterior and the tire surface is actually perfect for providing enough traction under dry circumstances to not wear the tire at all. The slipping also functions as a clutch and keeps the motor from locking up.
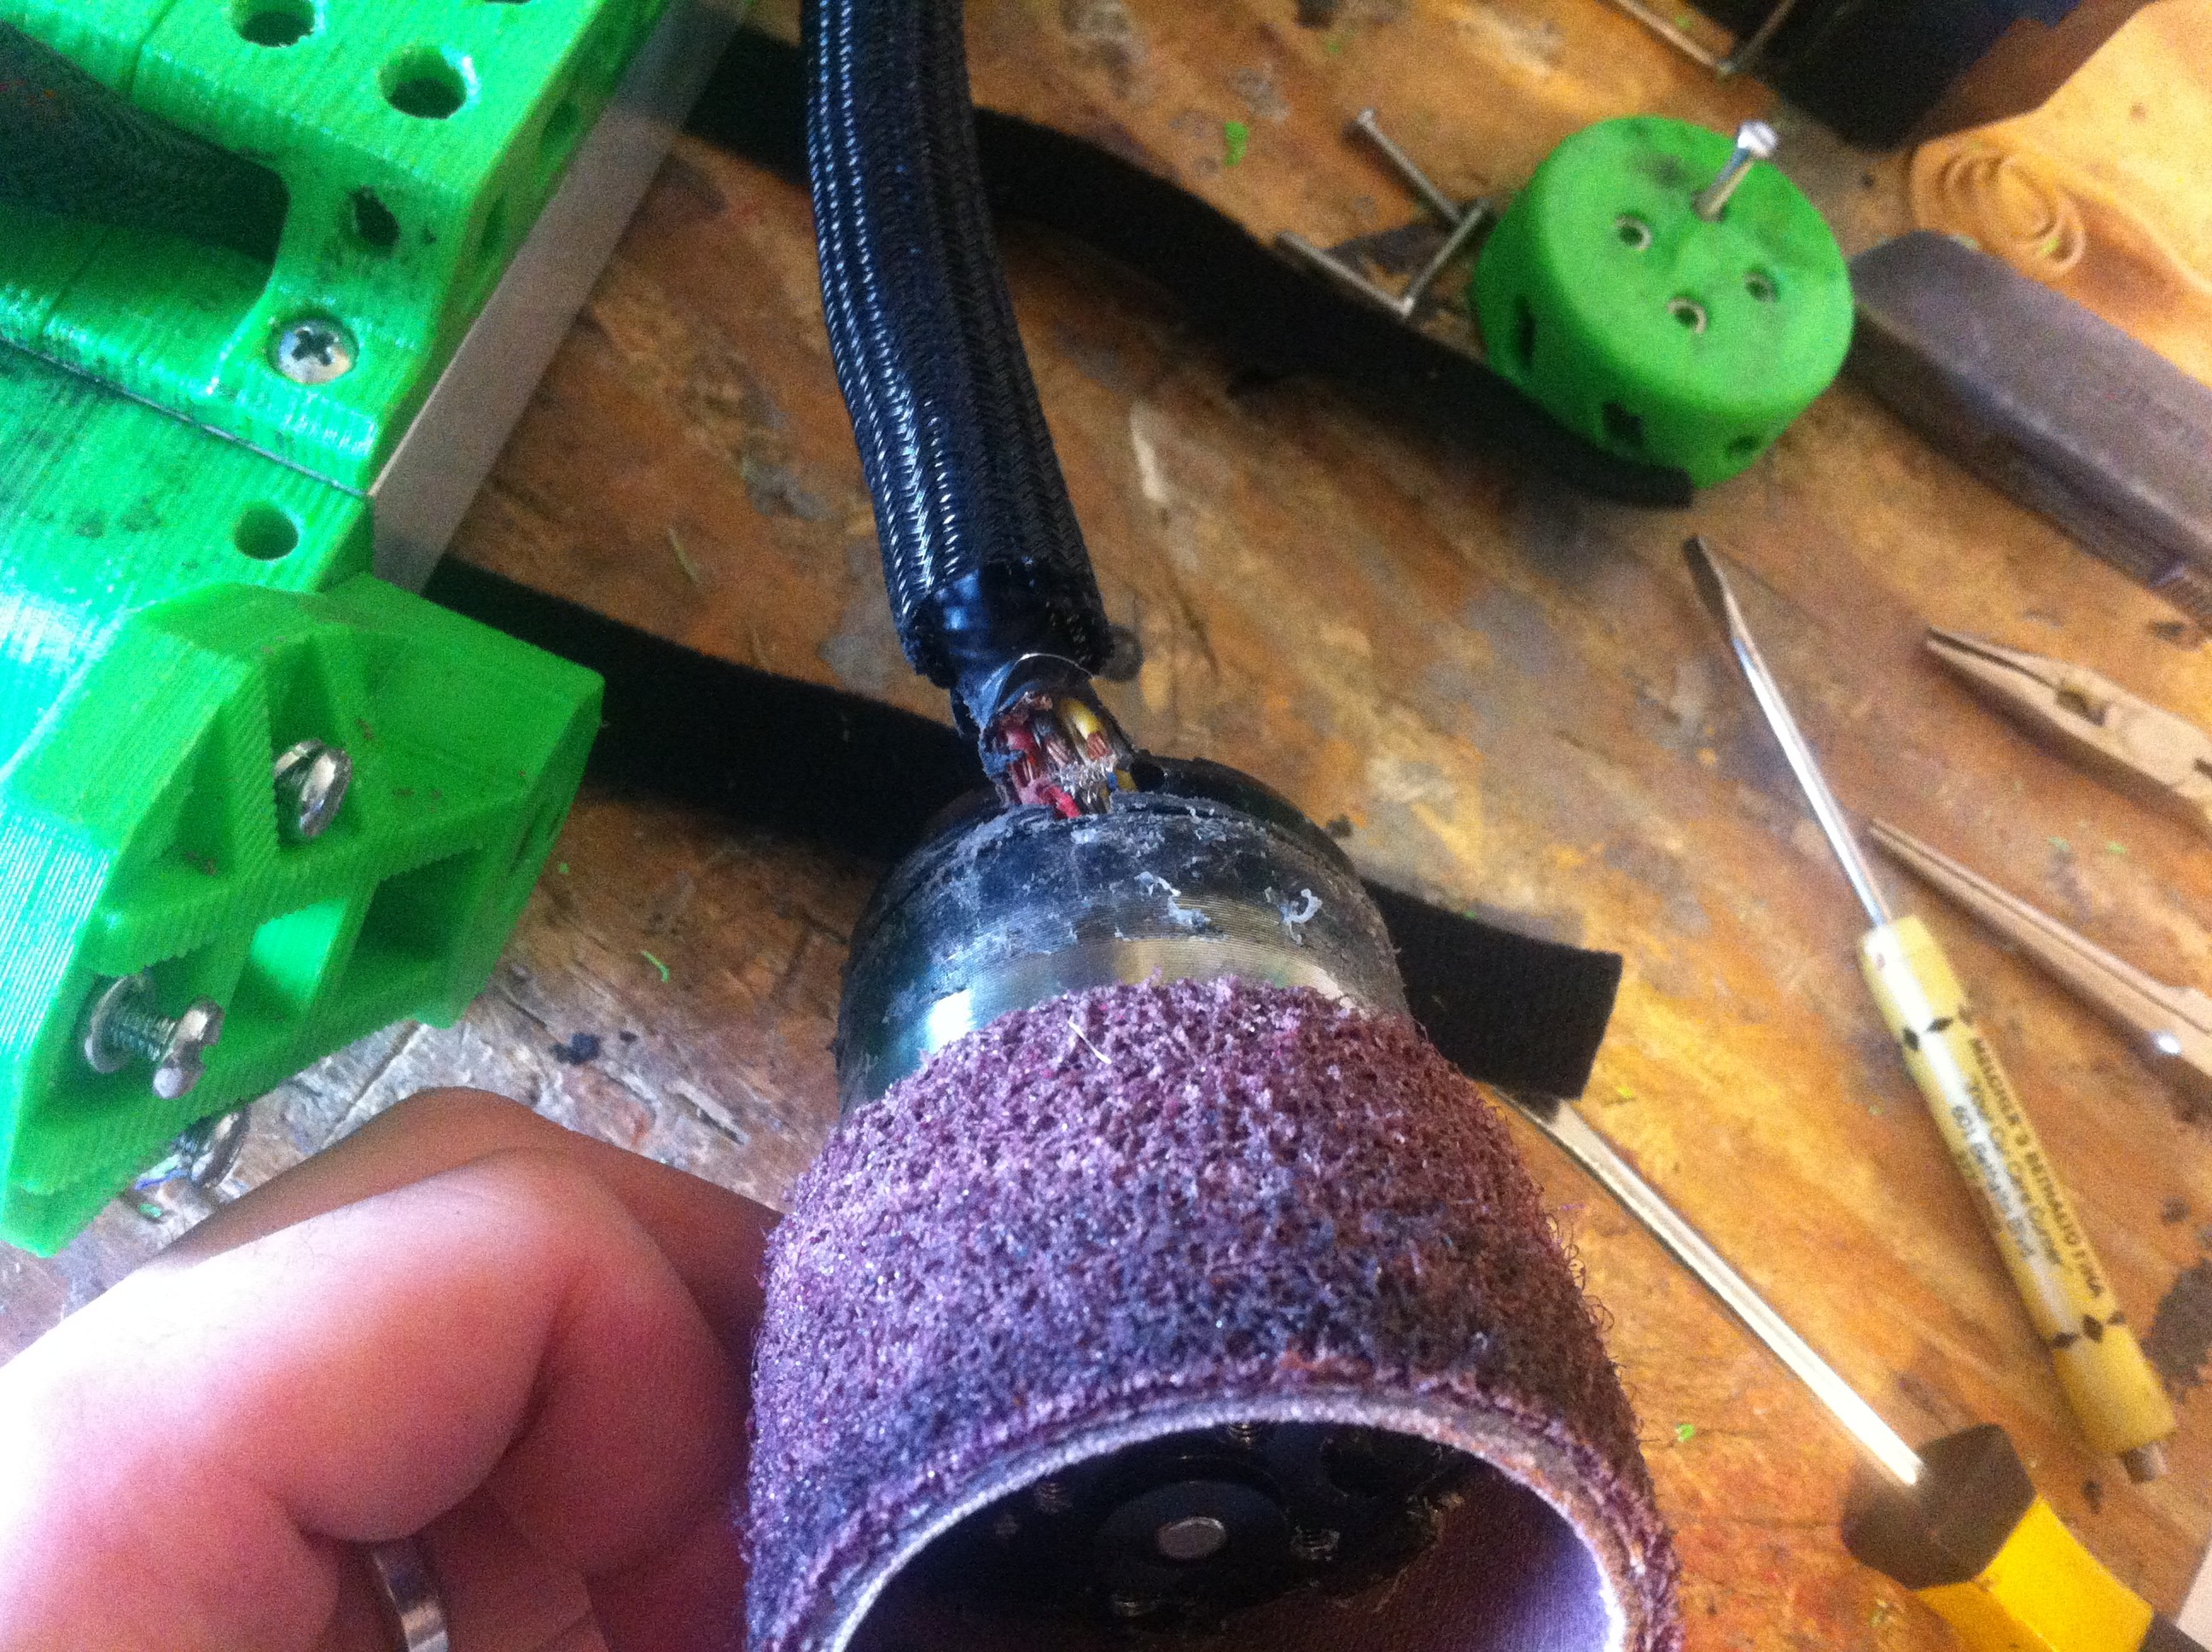
Another interesting part of the sandpaper experiment was the glue selection process. I needed an adhesive that stuck in use but was easily removable when I needed to change the paper…that’s a tall order!
The result of glue failure during use was also unacceptable. It caused the sandpaper to touch and wear the motor wires and almost cause some MAJOR problems! For the curious, “Zap Goo” with 24 hours of cure time ended up being the perfect glue for the job.
FYI a 2″ drum sandpeper sleeve was a perfect fit with glue on the 50mm motor. I thought I was so clever…until it didn’t work!
.
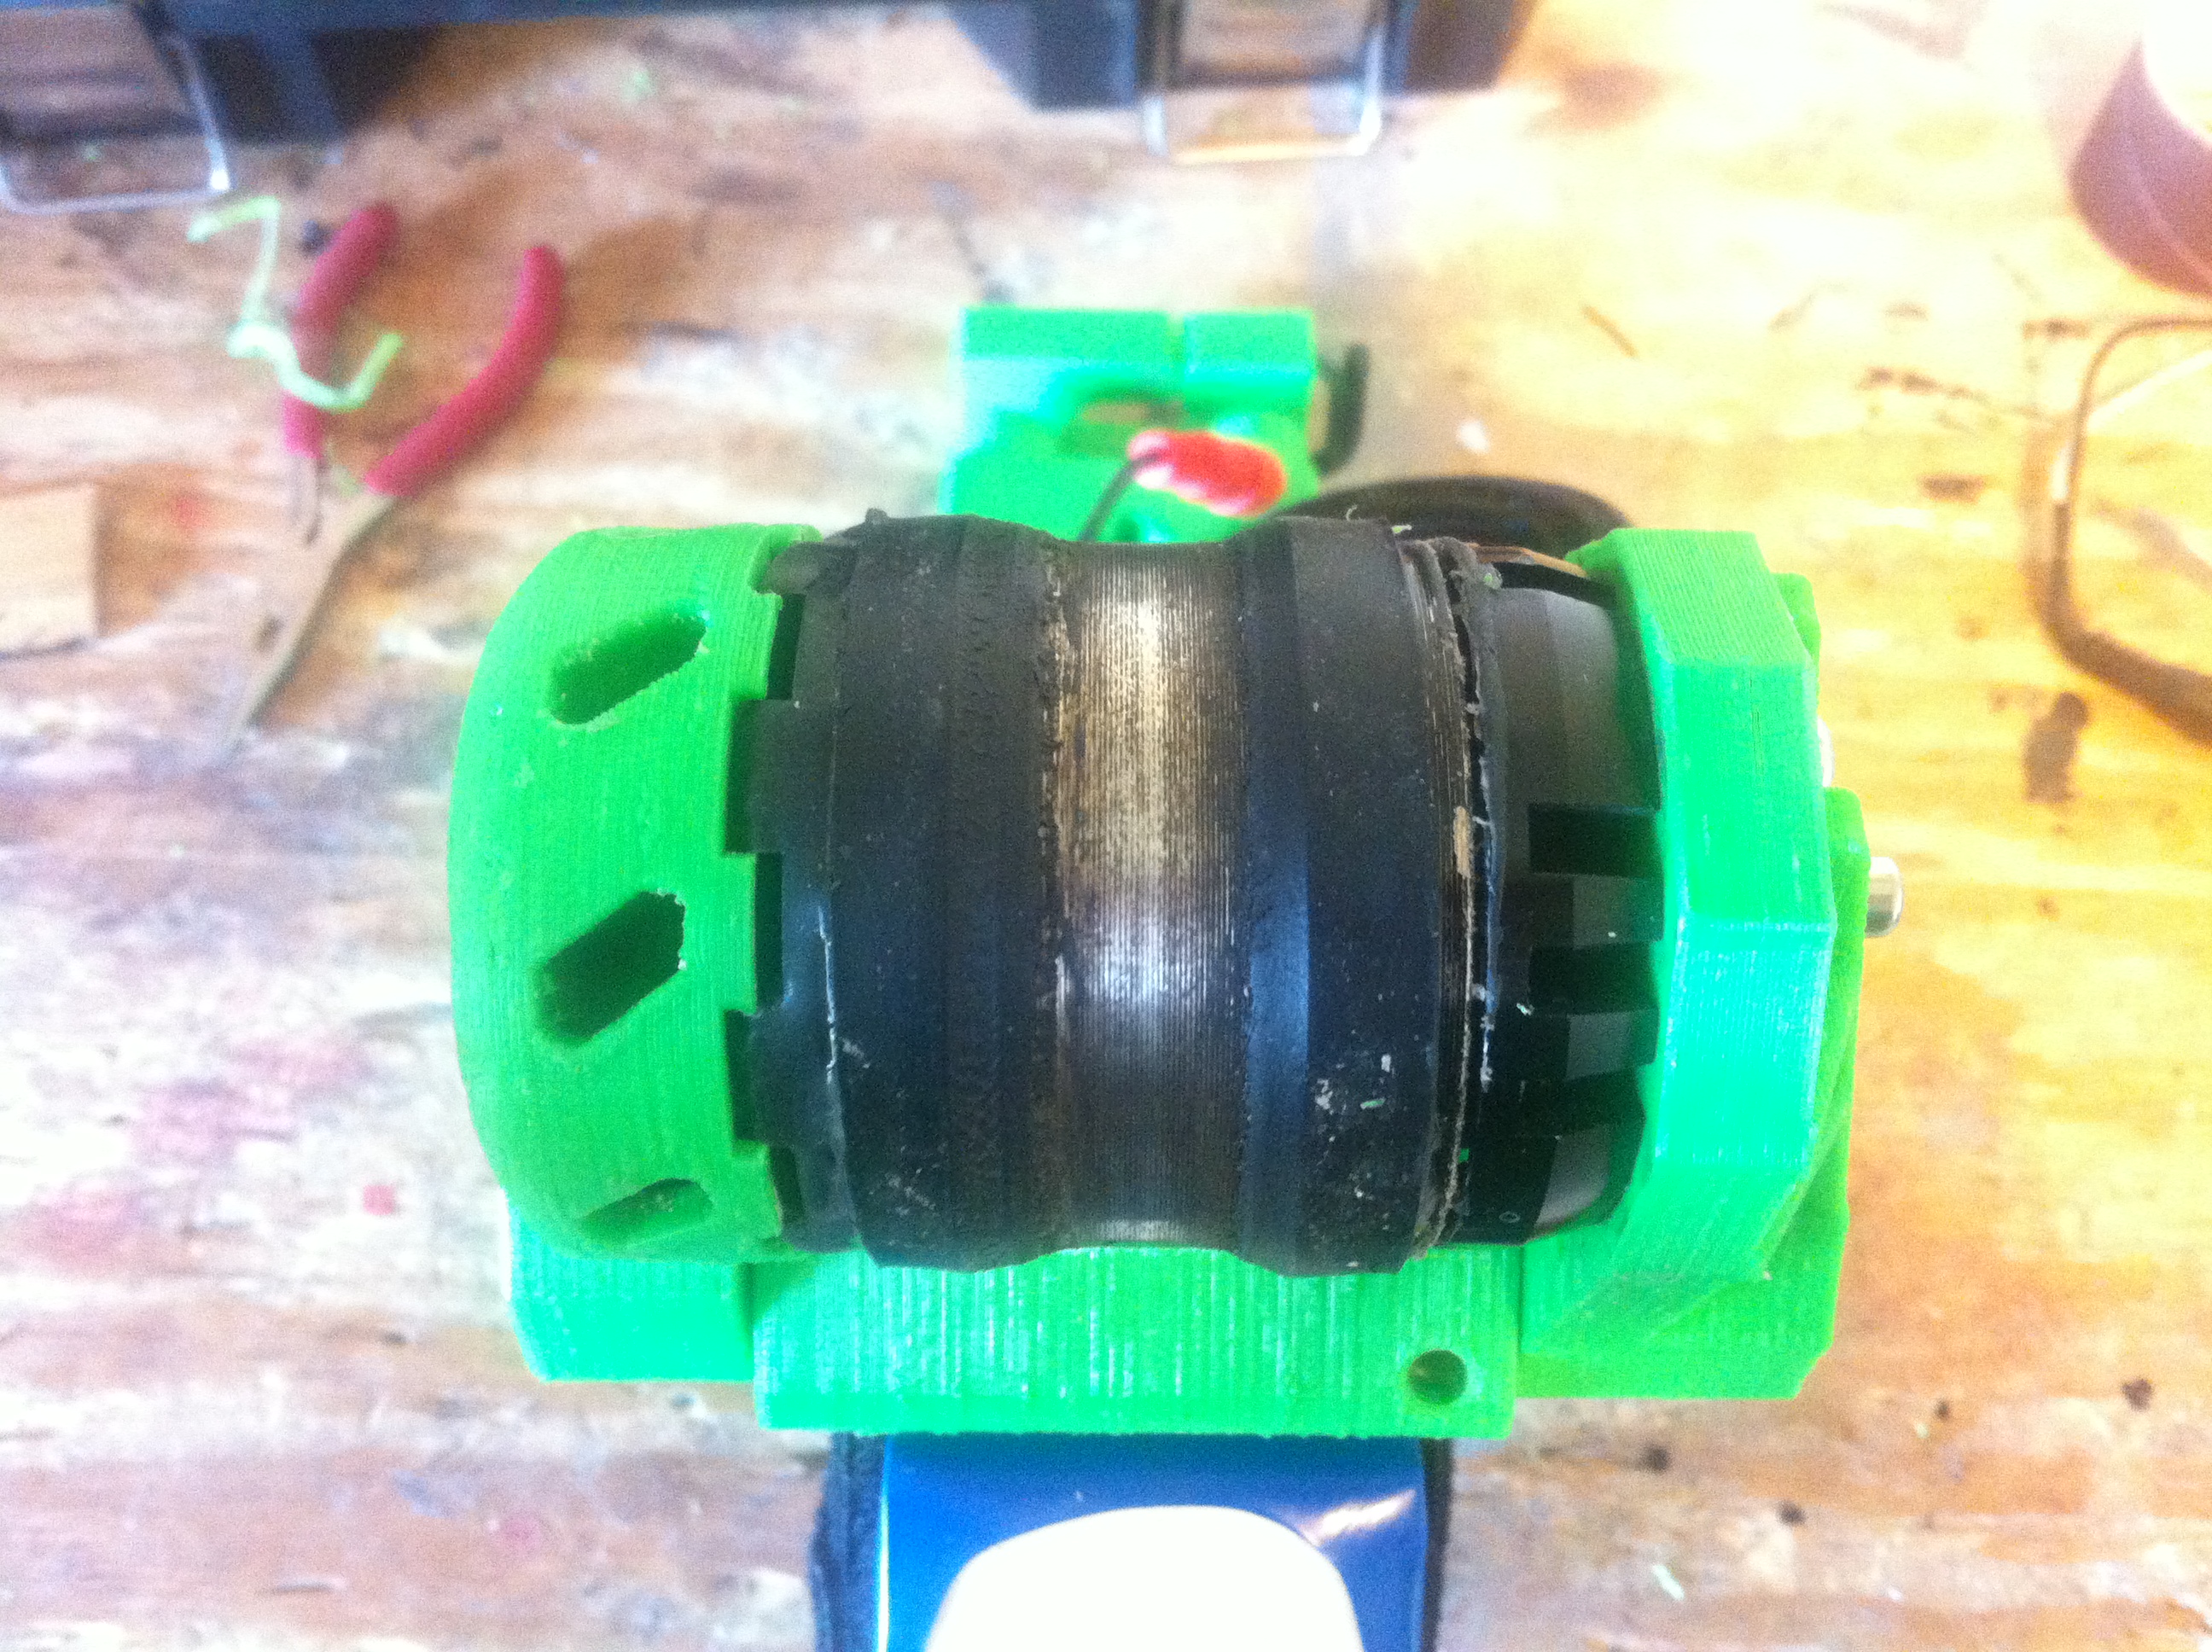
- Using a Big Motor: Up until now I’ve been happily using a 50mm OD outrunner motor, but I started to get the itch for even more power. So to see how far I could push it I mounted up a 60mm motor (~20% more power) that is also wound for even more torque at low speeds.
 The result was disappointing. My system refused to maintain proper motor timing, so no matter how I adjusted it it was unusable. This is likely due to my throttle design, which ‘floors the accelerator’ creating a huge instantaneous current draw which activates the ESCs internal current limiting. This could be solved with a bigger/different model of controller or a different throttle.
Going forward if anyone else anyone wants to go the big motor route, I think it would work just fine if you use a quality programmable controller such as the new opensource project VESC.
On the good side, I did determine that the big motor fit on both the BoosterPack and my bike in both configurations.
.
- Scooter Experiment: Just for fun I wondered if the design could be reconfigured to function on other types of vehicles. In this case I mounted it to my chick magnet on wheels.
The result? Yes it can clamp up, but it won’t drive it. The little polyurethane wheels are too slippery to be gripped in any way by the motor.

Unfortunately this chick magnet has two repelling poles.
.
Sitting here now rereading this article I realize that all three experiments were largely failures… Ha ha, well there’s always next time!
.
Footnotes:
*Not to break the established tradition of not speaking well of Portland on the internet, I’ll balance my earlier positive comments by saying that this place has its share of problems too. The influx of people over the last decade+ (lots of jerk millennials like ME) has created a huge demand for housing, making rentals expensive and absurdly hard to come by. (For $500/month I’ll rent you a slightly moldy mattress in my basement closet. Your bathroom and drinking water with both be provided by a utility sink). That high cost of living may play a part in the city’s large homeless population, which can be observed on any given major street corner… year round. This is enabled by the mild weather here but what PDX lacks in snow it makes up for in extended wet-gloom. I like it here, but it is not for everyone!
.
** $10 for digital/intangible content seems high at first, but let me tell you, it took a LOT of work and upfront investment to create those files…with no guarantee that it would be successful! While I give most of my work away for FREE, I think asking for a few bucks in this case is quite reasonable.***
.
***ALSO, if my little hobby can generate enough income then I’ll reinvest it into my dream 3D printer… a LulZBot Taz V5! (Rated Make Magazine’s Best Overall FDM 3D printer of 2016.)

Can you change the front wheel on the scooter for a solid rubber one?
LikeLike
$10 for the plans is not high at all!
I’m excited to try to build one!
LikeLiked by 1 person
What about Plastidip for wet traction?
http://www.plastidip.com/
LikeLiked by 1 person
Interesting idea, I haven’t tried it and I’m sure it would have good gripping properties against the tire. I’ll look into it !
LikeLike
Stupid autocorrect changed my name. Fixed
LikeLiked by 1 person
One of their recommended uses is “improve traction on tires”.
Click to access 38041additionalproductusage07-2002.pdf
LikeLike
Awesome, man. Will be waiting for your instructable. I wonder how it would perform on rough terrain with rigid road bike.
LikeLike
Glad to hear it! My gut says that if it gets too rough the motor would disengage. Then you would have to wait a second for it to stop itself (my esc has programmed brake to reduce the wait) then press the button again to reengage.
LikeLike
For wet weather traction, try using a tire that has more grip, like the Continental All Weather tire. It has a softer compound, rides a little slower and has a greater wear rate. Could be interesting, and it just might be what you’re looking for.
LikeLiked by 1 person
Years ago I had a Hidden Power FD kit from Korea which worked but the constant clunking noise every time I opened & closed the throttle was very tiresome! Plus the throttle was a weird rotating knurled knob design & too hard to get used to so I sold it. I finally made my own FD kit using a skateboard mtr which rubbed the tire & without the on/off clunking noise & the throttle is a simple push button for max revs. It WORKS!
LikeLike